Installation Best Practices for Bathroom Radiators
A bathroom radiator does more than heat your space—it adds comfort, style, and even a touch of luxury to your daily routine. From keeping towels warm to preventing dampness, a well-installed radiator transforms your bathroom experience. But getting the installation right is key. Poor placement, incorrect fittings, or skipped safety checks can lead to reduced efficiency or costly repairs later.
This guide outlines the best practices for installing a bathroom radiator so you can enjoy lasting performance, improved efficiency, and an attractive finish.
Step 1: Choose the Right Radiator
Before installation begins, selecting the right unit is crucial. Consider:
- Room size: Larger bathrooms may need a higher heat output.
- Style: Towel rail radiators, vertical designs, or traditional panels can all work depending on your décor.
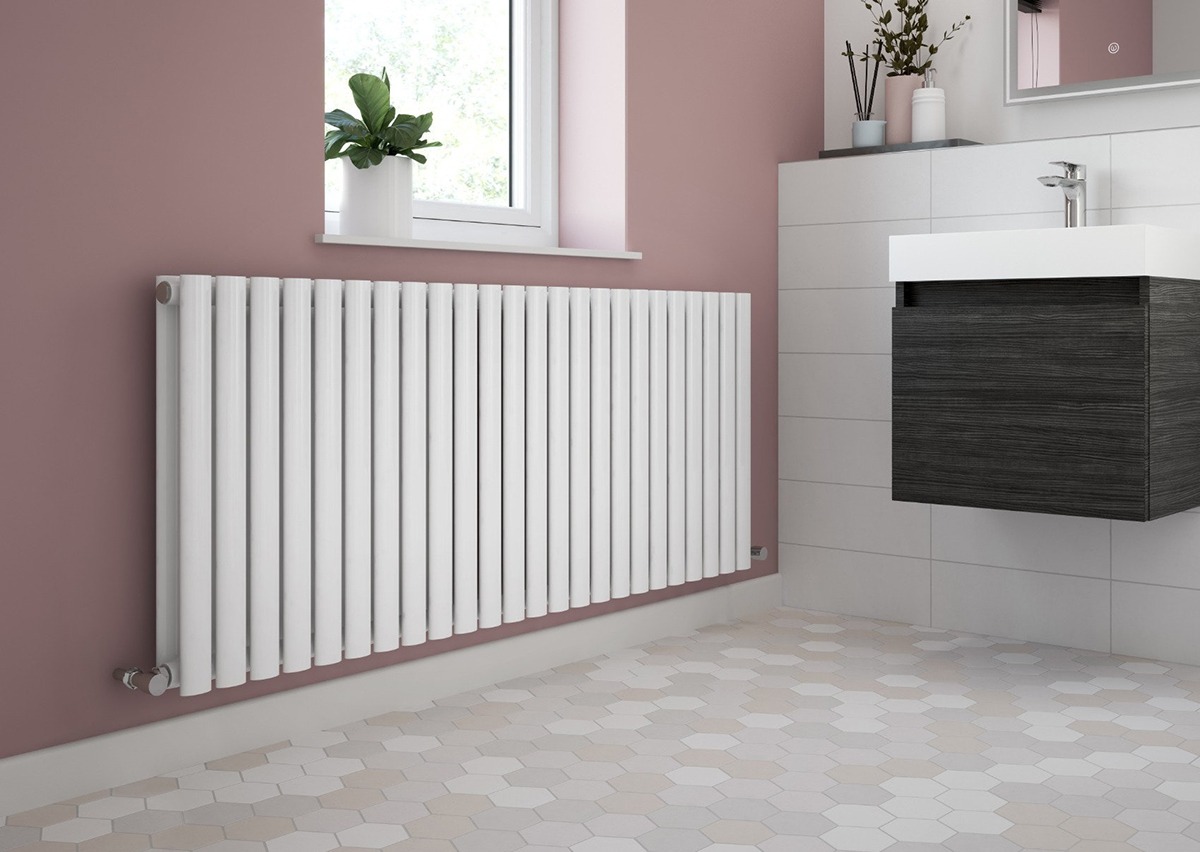
- Finish: Chrome, white, or coloured options can complement your bathroom theme.
- Functionality: Some radiators double as towel warmers, offering added convenience.
By choosing the right bathroom radiator from the start, you set the foundation for an efficient and attractive heating solution.
Step 2: Select the Ideal Location
Placement impacts both performance and safety. Ideally, position the radiator:
- Near the shower or bath for quick towel access
- On an internal wall to minimise heat loss
- Away from splash zones unless the unit is IP-rated for wet areas
- At a height that’s easy to reach but still allows for efficient airflow
Good placement ensures heat is distributed evenly, while keeping the space safe and functional.
Step 3: Prepare the Installation Area
Preparation is vital for a smooth fit:
- Clear the space where the radiator will go.
- Check the wall strength—especially for heavy towel rail radiators.
- Mark pipe positions before drilling.
- Turn off the water supply and drain the system if connecting to central heating.
Taking time to prepare helps avoid mistakes and speeds up installation.
Step 4: Use Quality Fixtures and Fittings
The longevity of your bathroom radiator depends on secure and durable fittings. Always:
- Use brackets designed for your radiator’s weight and style.
- Opt for corrosion-resistant screws and wall plugs.
- Ensure pipe connections are sealed with appropriate materials.
Cutting corners here could lead to leaks, instability, or early wear.
Step 5: Follow Manufacturer Guidelines
Every radiator comes with its own set of instructions. These will detail:
- The correct mounting height
- Recommended clearances from floors and walls
- Maximum water pressure levels
- Electrical safety requirements for dual-fuel models
Ignoring these can void warranties or create safety risks. Always follow the manufacturer’s recommendations precisely.
Mid-Article Anchor Placement for SEO
If you’re looking for a stylish, high-performance bathroom radiator, Stelrad offers a wide range of towel rail radiators to suit any space—perfect for both functionality and visual appeal.
Step 6: Ensure Proper Ventilation and Bleeding
Air trapped in your radiator can reduce its heating efficiency. Once installed:
- Bleed the radiator to remove air pockets.
- Check water pressure in your heating system.
- Monitor for any leaks over the first few days.
Good maintenance from day one helps your radiator work at peak performance.
Step 7: Safety First – Electrical Considerations
For electric or dual-fuel radiators:
- Only a qualified electrician should carry out wiring.
- Ensure compliance with bathroom electrical safety zones.
- Use an isolator switch outside the bathroom for added safety.
Following safety regulations is essential to protect both your home and the people using it.
Step 8: Finishing Touches for a Professional Look
Once the radiator is securely in place, focus on presentation:
- Conceal pipework where possible for a clean look.
- Add matching valve covers for a polished finish.
- Ensure brackets and fixings are aligned.
A well-fitted bathroom radiator should not only perform well but also enhance the room’s overall design.
Common Installation Mistakes to Avoid
Even experienced installers can make errors when fitting a bathroom radiator, which can affect its performance and lifespan. Common issues include placing the radiator in a poorly ventilated area, which limits heat circulation, or skipping wall reinforcement when installing heavy models, leading to instability. Over-tightening fittings can also cause damage to components, while forgetting to bleed the radiator after installation often results in reduced efficiency. By avoiding these mistakes, you can ensure a safe, long-lasting, and effective heating solution.
Why Professional Installation is Worth It
While DIY installation is possible, hiring a qualified plumber or heating engineer offers benefits:
- Expertise in selecting the best location
- Proper tools for secure installation
- Compliance with safety regulations
- Reduced risk of future problems
Investing in professional installation saves time, prevents costly mistakes, and ensures optimal performance.
End-of-Article Anchor Placement for SEO
For a reliable, stylish, and efficient bathroom radiator, explore Stelrad’s range of towel rail radiators. With professional installation and the right care, your bathroom will stay warm, comfortable, and inviting all year round.
In Closing
Installing a bathroom radiator correctly is essential for both comfort and style. From choosing the right model to ensuring proper placement, following best practices guarantees efficient heating and long-term performance. Whether you opt for a sleek towel rail or a classic panel design, professional installation ensures safety, efficiency, and a flawless finish—making your bathroom a warmer, more welcoming space.